
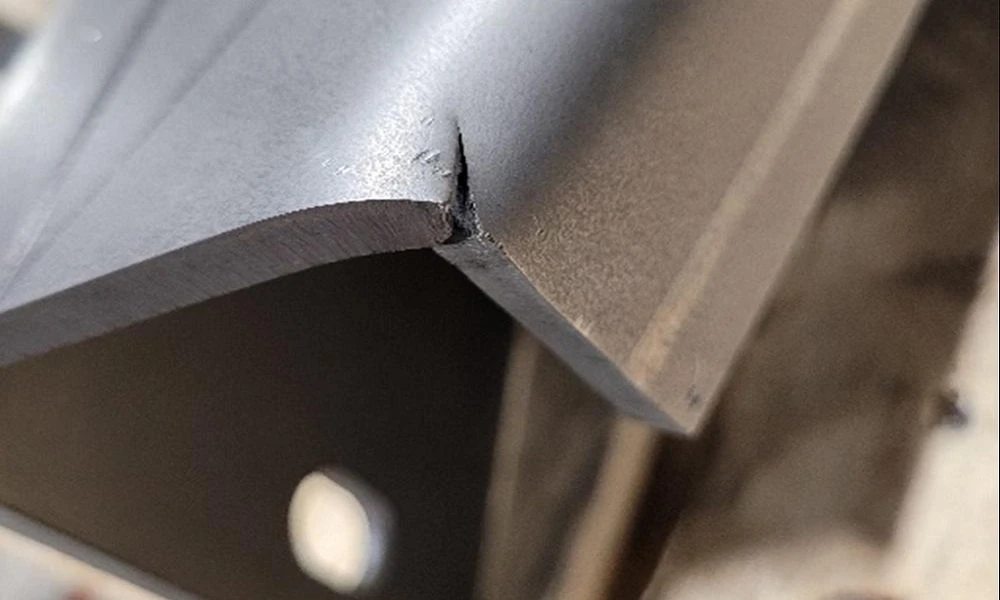

A weld coupon goes into the machine, gets bent to a specified angle, and comes out with a hairline split running straight through the weld. Nothing about the dimensional inspection caught it beforehand. The weld looked fine, the bead was even, and every measurement on the report checked out clean. Nothing in that paperwork predicted what a metal bend test would reveal once the material was actually forced to deform.
That’s really the entire purpose of the test. It doesn’t measure anything the way a caliper or a scale does. It provokes a reaction and then reads what happens.
Ductility is not something a tape measure can find
Strength numbers and dimensional checks tell an inspector whether a part meets its spec on paper. Neither one says much about how the material behaves once it’s actually stressed past where it’s comfortable. A weld can look perfect and still be brittle in a way no visual inspection would ever catch on its own.
Ductility only shows up under load. Bending a specimen to a set angle, whether 90 degrees, 120, or a full 180 depending on the governing standard, puts the material under exactly that kind of stress deliberately, in a controlled setting rather than out in the field where a failure actually costs something.
What actually happens when a specimen is bent
The setup itself is fairly straightforward. A sectioned sample, sometimes a full-sized pipe depending on what’s being qualified, gets deformed to a specified angle until a concave surface forms on the bent side. The test isn’t really measuring how far the sample bends. It’s watching what that bending does to the surface once it happens.
Preparing the specimen is simple by design, which is part of why this test shows up so often across so many industries. It doesn’t require exotic equipment or a long setup process. A specimen gets loaded, deformed, and inspected, usually within a single session, which keeps turnaround fast compared to more involved mechanical tests.
Reading the concave surface for defects
Once the bend is complete, the concave surface gets examined closely for cracks, tearing, or any other discontinuity. This is where the test earns its value. A material or weld that’s genuinely sound will deform smoothly, stretching without splitting anywhere along the bend. One with hidden weakness, whether from poor fusion, embrittlement, or a flaw buried in the base material, tends to open up right where the stress concentrates hardest.
Running a metal bend test this way turns an invisible property into something visible on the surface, in plain sight. There’s no real ambiguity once a crack appears. It’s either there or it isn’t, and the inspector doesn’t need much interpretation to make that call.
Bend versus rebend for reinforcement
Reinforcement bars and wire meshes go through a related but slightly different version of this test. Strength alone isn’t enough for material meant to serve as the backbone of a structure. It also needs to bend without snapping, since rebar routinely gets shaped and reshaped on site before it ever goes into concrete.
Rebend testing adds a second step on top of the standard bend. After the first bend, the specimen gets straightened back out and bent again to a specified angle, checking whether the material holds up under repeated deformation rather than just a single pass. Bar and mesh that pass the first bend but crack on the rebend reveal a ductility problem the initial test alone would have missed, which is exactly why the extra step exists in the first place.